Why this page exists
Network-rack installation for new construction is shaped by how the space is used, not just by the service itself. New construction bring their own operating constraints, and this page pairs what network-rack installation actually involves with what that environment changes about it.
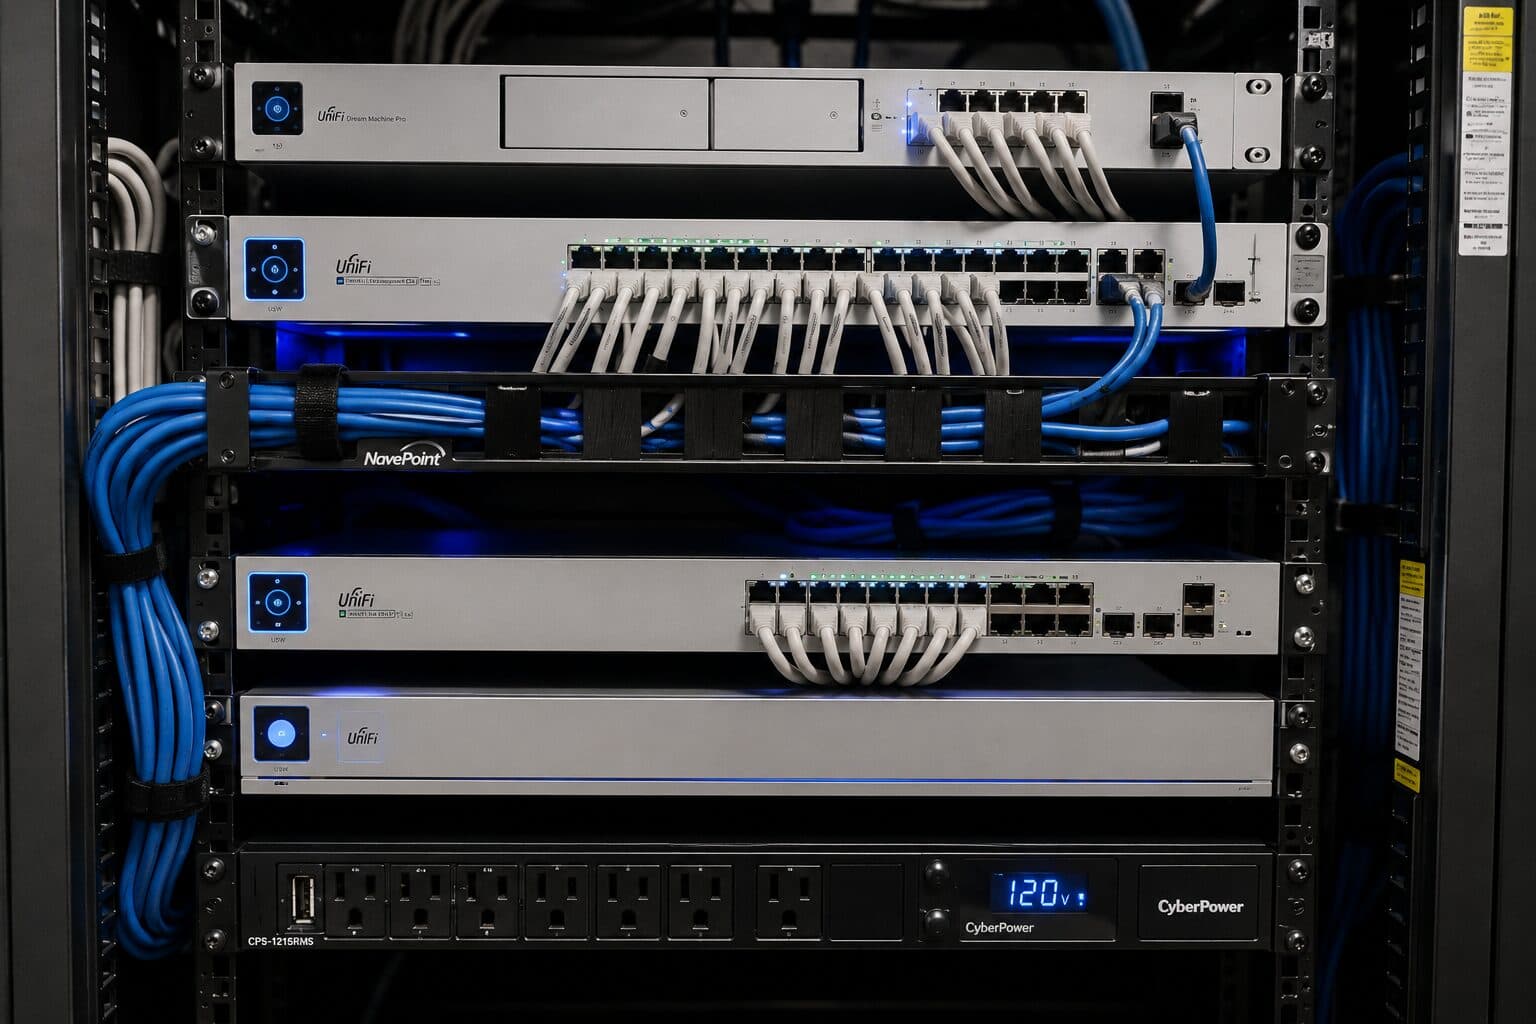
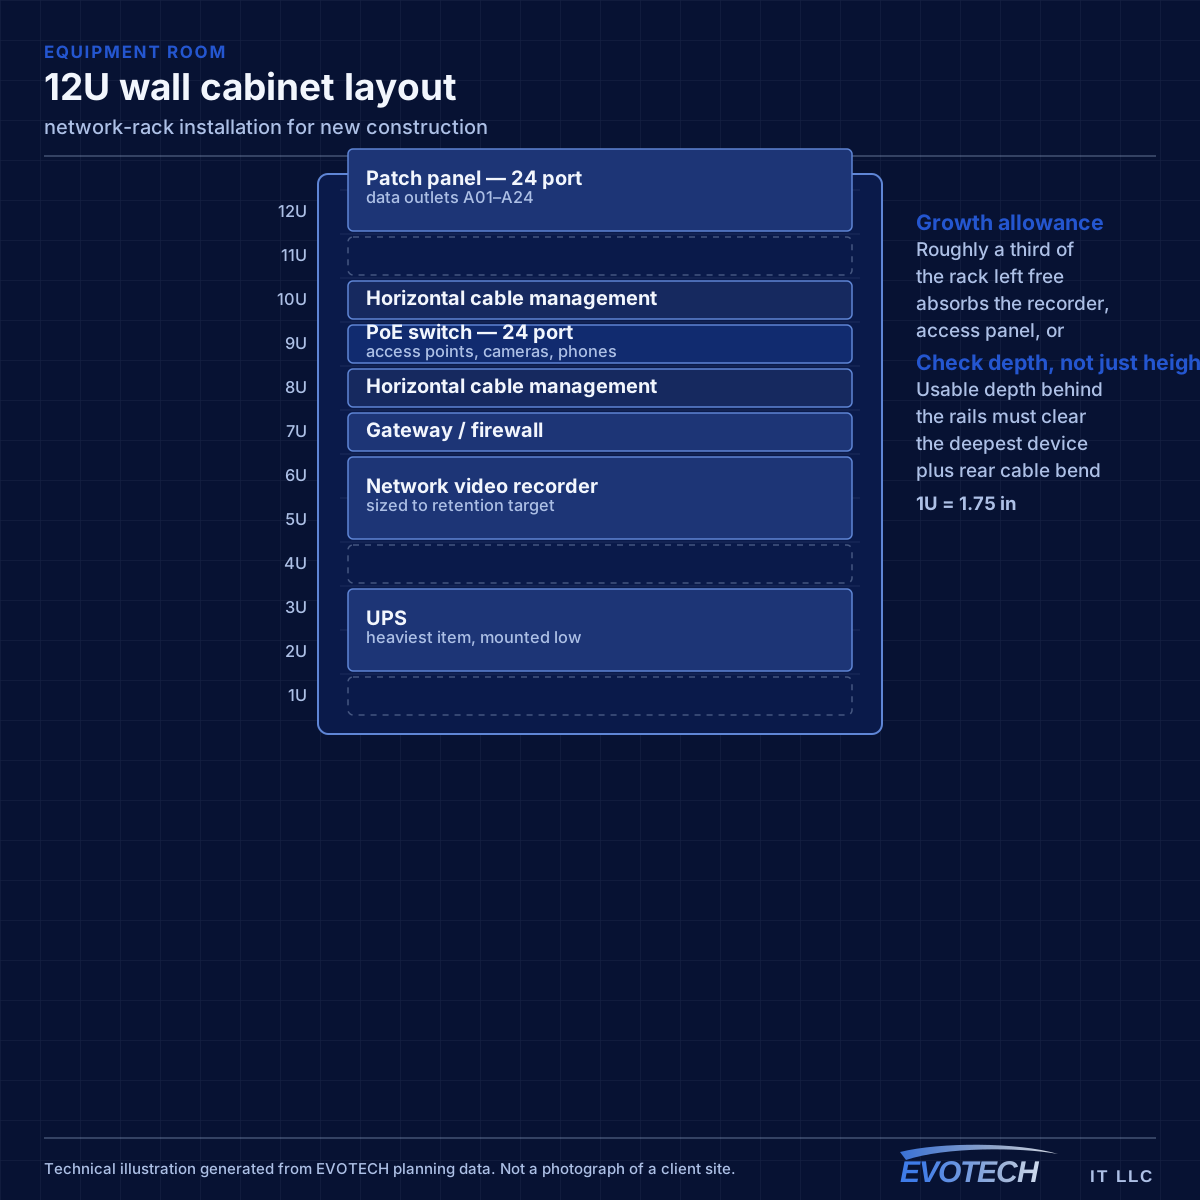
Rack sizing is measured in rack units — each U is 1.75 inches of vertical mounting space. Counting the equipment gives a starting number, but the useful sizing rule is to add space for cable management between device groups and leave roughly a third of the rack empty for whatever arrives later. A rack packed to capacity on day one is a rack that gets a switch balanced on top of it within a year.
One window, and it does not reopen
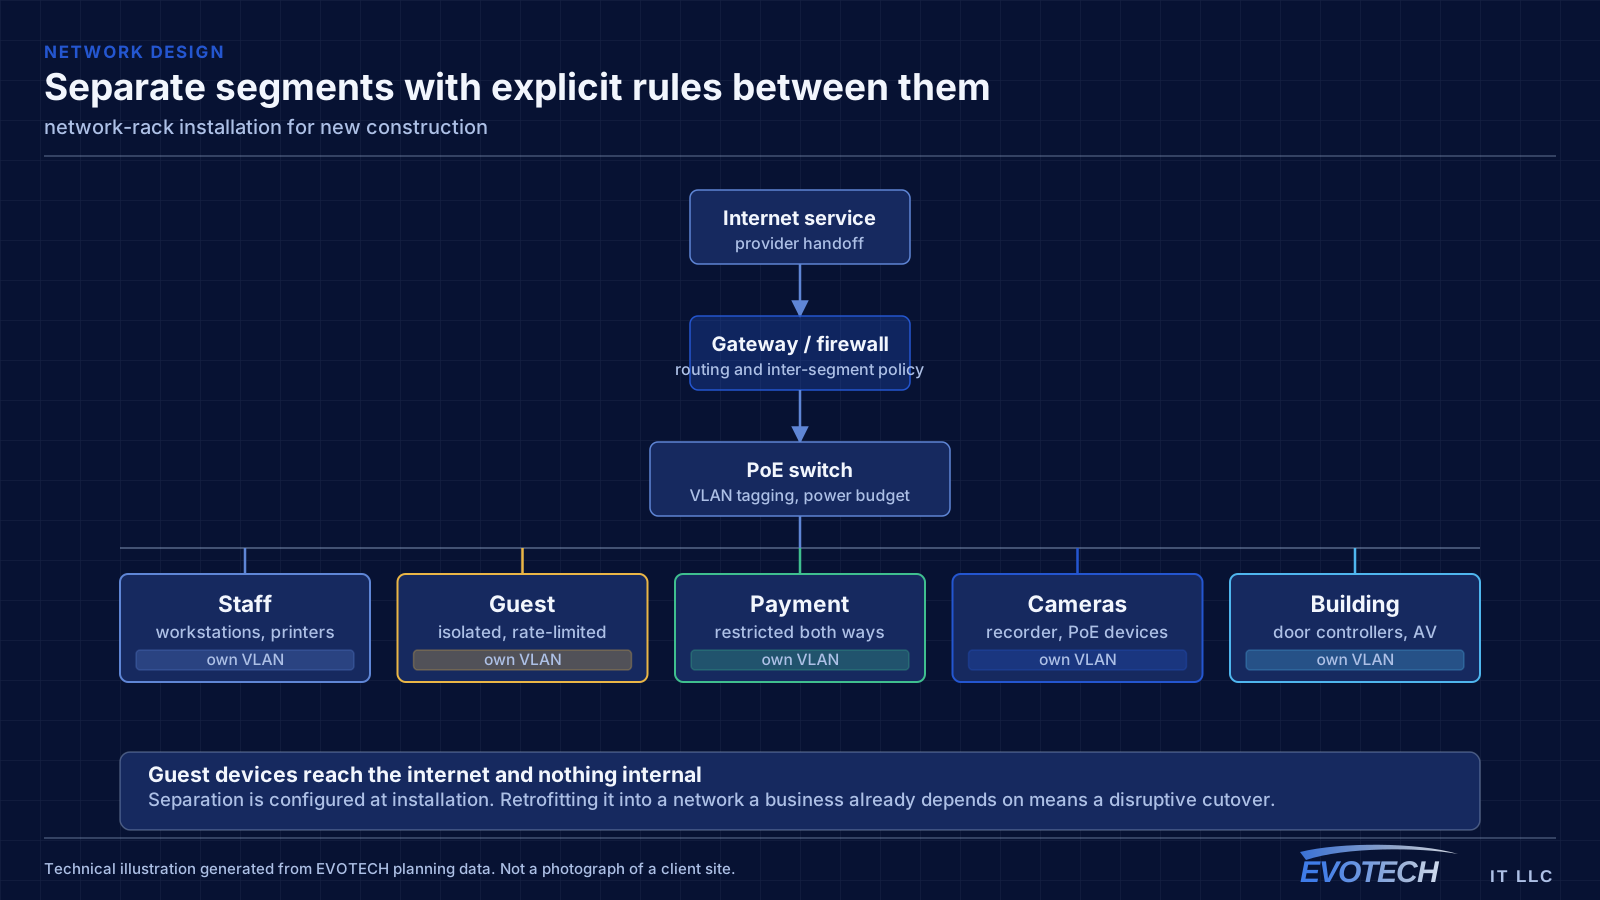
Low-voltage rough-in happens in a specific slot: after framing and electrical, before insulation and drywall. Inside that window, running a cable anywhere is straightforward. Once drywall goes up, the same cable costs many times more and sometimes cannot be run at all.
The asymmetry is the whole story of new-construction low voltage. Decisions made cheaply during rough-in become expensive or impossible afterwards, which is why the pre-rough-in planning conversation is worth more than any equipment choice made later.
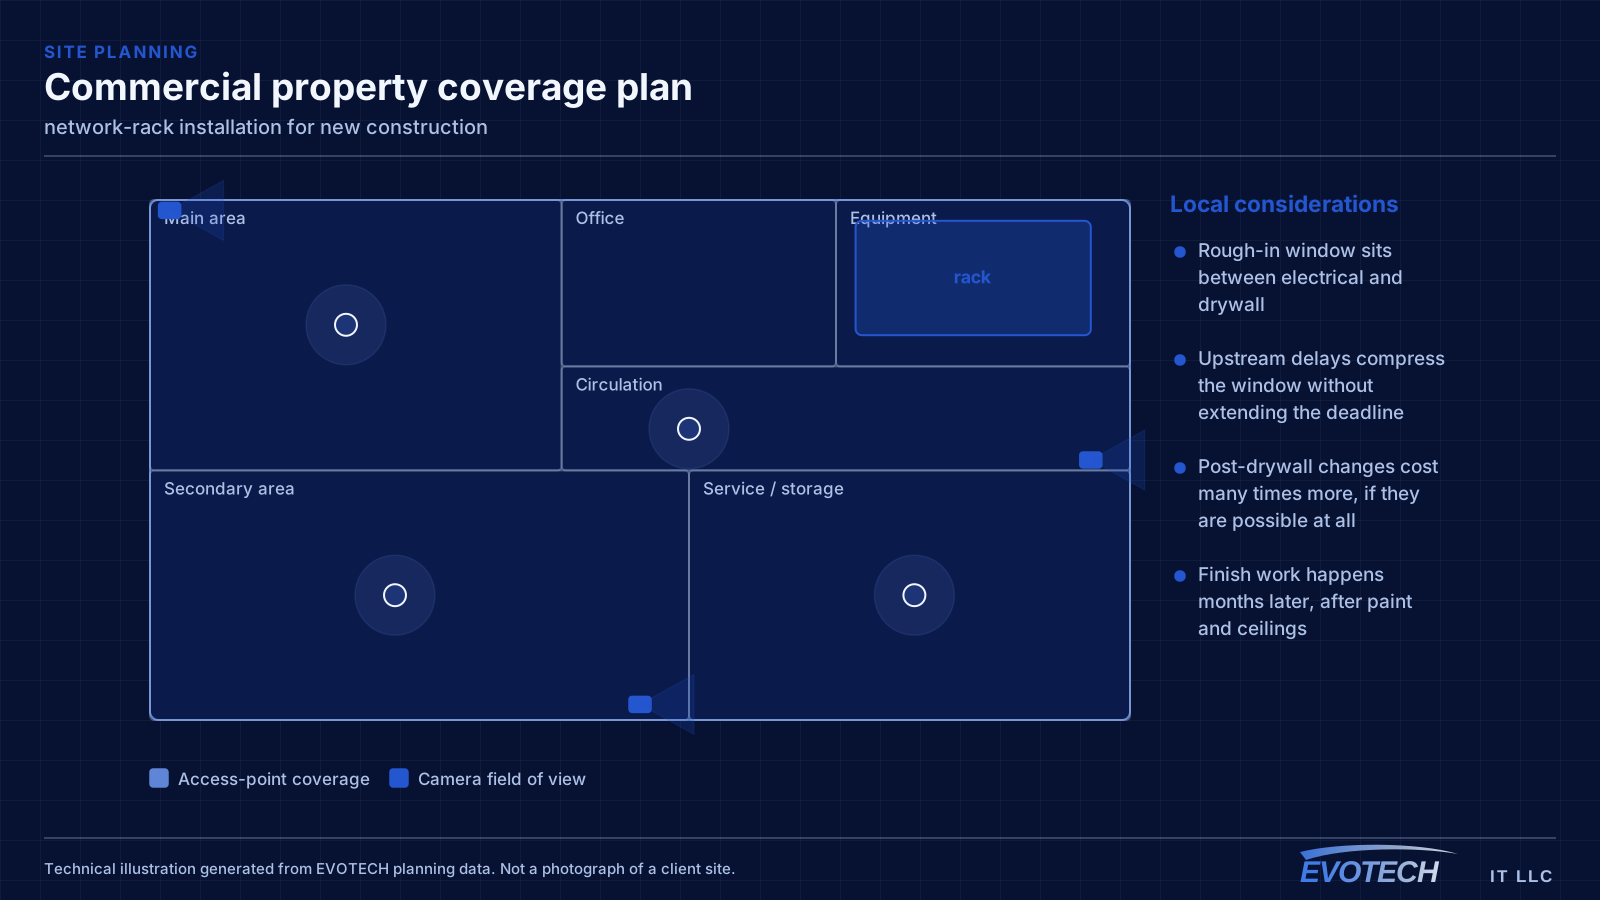
- Rough-in window sits between electrical and drywall
- Upstream delays compress the window without extending the deadline
- Post-drywall changes cost many times more, if they are possible at all
- Finish work happens months later, after paint and ceilings
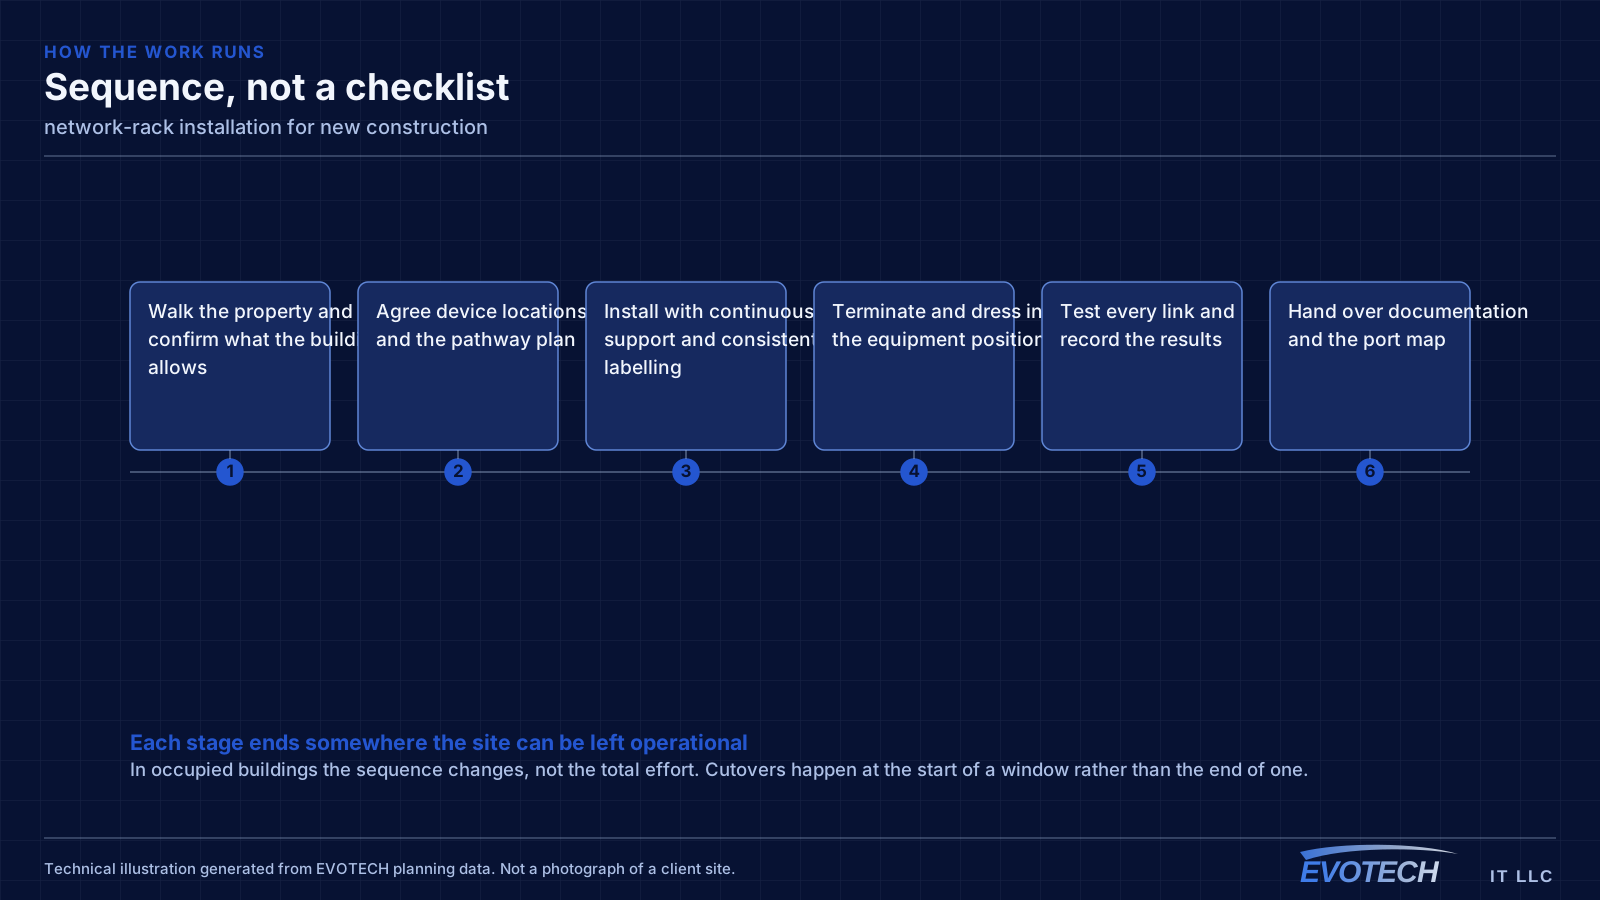
What network-rack installation usually involves
Heat is the problem that shortens equipment life quietly. A sealed cabinet in a closet with no ventilation concentrates the heat of a switch, a recorder, and a UPS in a small volume, and the equipment inside runs hot for years before something fails. Enclosed cabinets need either passive ventilation with a genuine airflow path or active fans, and the closet itself needs somewhere for that heat to go.
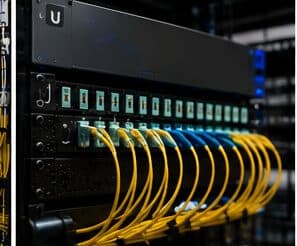
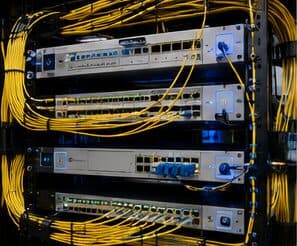
The second problem is serviceability. Racks built without horizontal management, without slack, and without labels make every subsequent change slow and risky. Pulling one patch cord out of a woven mass to trace it is how adjacent connections get knocked loose.
- Sealed cabinets with no ventilation path concentrating heat
- Depth insufficient for the deepest device once rear cable bend is included
- No horizontal cable management, so patch cords weave across the rack face
- Equipment resting on other equipment rather than mounted
- No spare U space, so additions get stacked on top
- Power strips daisy-chained instead of a properly mounted PDU
- No labels, so tracing a connection requires pulling on cables
What to rough in even without a final design
Full system design is often not finished when the rough-in window arrives. That is normal, and it is not a reason to skip the pathway. Running conduit or sleeves to likely positions preserves the option cheaply even when the eventual equipment is undecided.
For a commercial building, the reliable rough-in set is: cable to every likely device outlet, ceiling positions for access points spaced for the intended coverage, camera positions at entries and approaches, door positions with cable to the controller location, and pathway to any likely display or AV position. Plus, in every case, a properly located equipment room.
The equipment room deserves particular emphasis because it is the most commonly under-provisioned item. It has to hold the network rack, camera recorder, access-control panel, and any AV equipment, with dedicated power, ventilation, and clearance to work. Sizing it from the network alone is a decision that gets discovered eighteen months later.
- Sleeves and conduit to likely positions even before final design
- Ceiling access-point positions spaced for the intended coverage
- Camera positions at entries, approaches, and service areas
- Cable from every controlled door to the controller position
- Equipment room with dedicated power, ventilation, and working clearance
Sizing, heat, weight, and power
Start from a device list with each item's U height and depth, add a U of management between logical groups, add the patch panels, and then add roughly a third again for growth. A 12U wall cabinet that appears generous for today's four devices often turns out to be the right size once panels, management, and a UPS are counted properly.
- 1U = 1.75 inches; size from a real device list plus management plus growth
- Check usable depth behind the rails against the deepest device plus rear cable bend
- Provide a genuine airflow path for enclosed cabinets
- Mount wall cabinets into structure, accounting for the loaded weight including a UPS
- Dedicated circuit and a mounted PDU rather than daisy-chained strips
- Horizontal management between panel and switch groups
Popular services nearby
Frequently searched near this area — the pages people look for most.
Frequently asked questions
What changes about network-rack installation in new construction?
The operating environment does. New construction bring specific constraints — how the space is used, when work can happen, and what has to keep running — and those shape the network-rack installation plan as much as the service's own technical requirements.
What size rack is needed?
Add the U heights of every intended device, add a U of management between logical groups, add the patch panels, then add roughly a third for growth. The result is usually a size or two larger than the first instinct, and the extra space costs far less than the disruption of replacing an undersized cabinet later.
What has to be decided before rough-in?
Device locations, the equipment room position, and the pathway plan. Equipment selection can wait — you can run cable to a position without knowing which camera or access point will go there. What cannot wait is the decision about where things go, because that is what determines where cable is pulled while the walls are open.