Why this page exists
Video-doorbell installation for new construction is shaped by how the space is used, not just by the service itself. New construction bring their own operating constraints, and this page pairs what video-doorbell installation actually involves with what that environment changes about it.
A video doorbell is a small camera with a doorbell button, and the three things that make it work well are adequate power, a sensible viewing angle, and a solid network connection at the door. Existing doorbell wiring often provides power, but many older transformers were sized for a mechanical chime and do not supply enough for a camera that streams and records.
One window, and it does not reopen
Low-voltage rough-in happens in a specific slot: after framing and electrical, before insulation and drywall. Inside that window, running a cable anywhere is straightforward. Once drywall goes up, the same cable costs many times more and sometimes cannot be run at all.
The asymmetry is the whole story of new-construction low voltage. Decisions made cheaply during rough-in become expensive or impossible afterwards, which is why the pre-rough-in planning conversation is worth more than any equipment choice made later.
- Rough-in window sits between electrical and drywall
- Upstream delays compress the window without extending the deadline
- Post-drywall changes cost many times more, if they are possible at all
- Finish work happens months later, after paint and ceilings
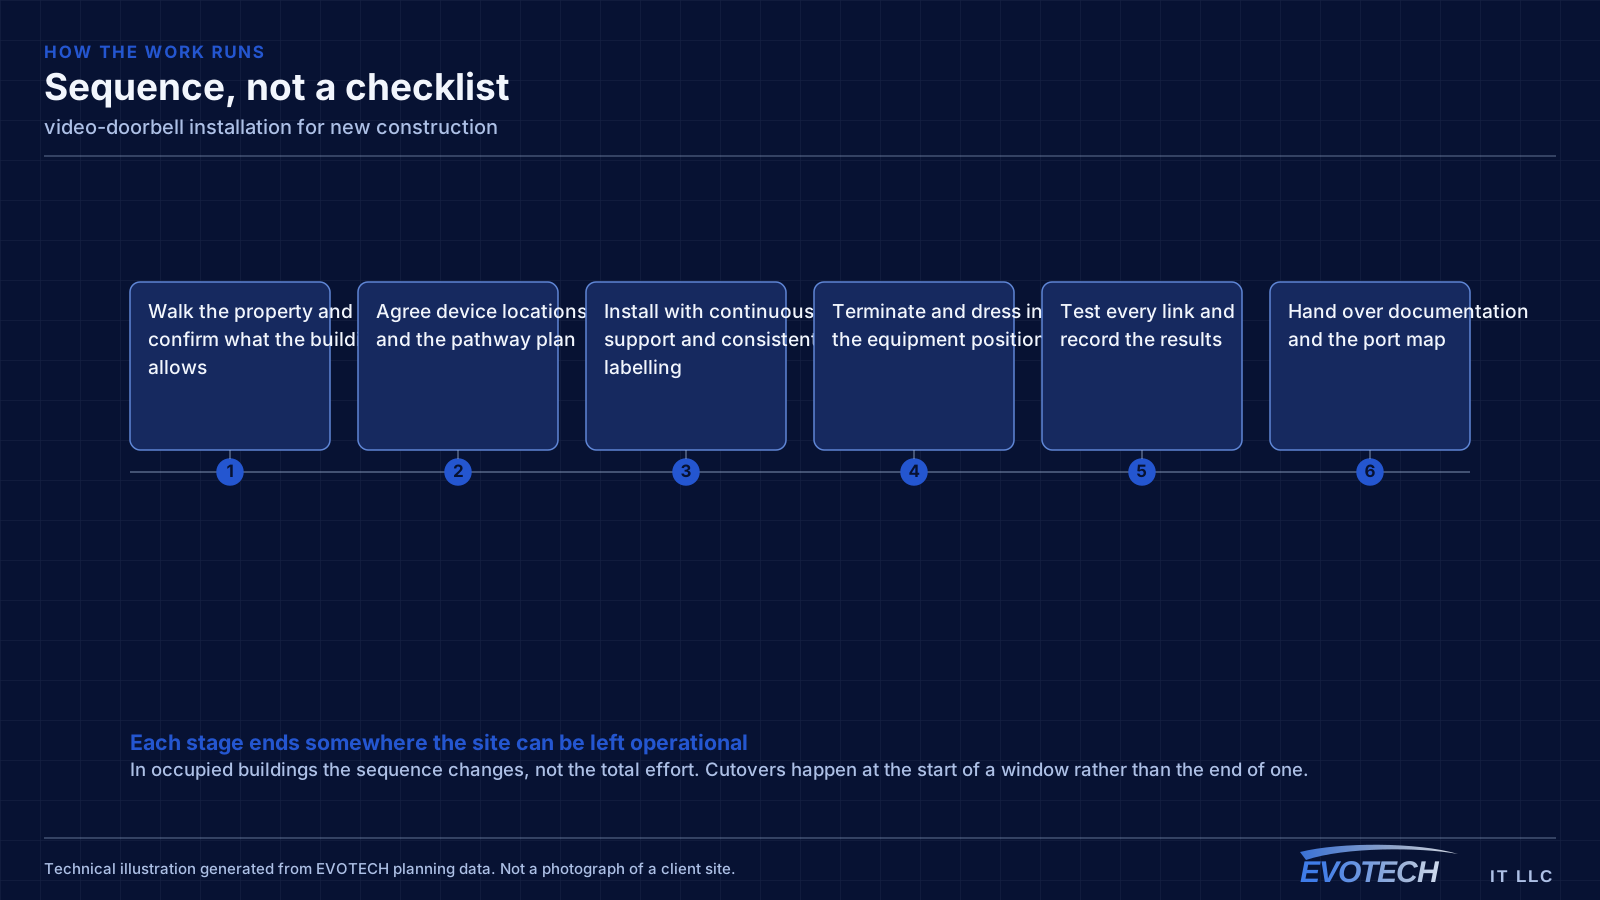
What video-doorbell installation usually involves
The most common failure is a doorbell that works intermittently, drops its video, or reboots when someone presses the button. That pattern almost always indicates insufficient power — either a transformer below the required rating or a chime configuration the device cannot work with.
The second is wireless. The front door is frequently the furthest point from the router, often through an exterior wall and sometimes behind brick veneer. A device with a marginal connection produces delayed notifications and choppy video, and no amount of doorbell configuration fixes a signal problem.
- Transformer rated for a mechanical chime and insufficient for a camera doorbell
- Existing chime incompatible without the manufacturer's adapter
- Mounting height framing chests rather than faces
- Approach path off to one side, outside the camera's field of view
- Weak wireless signal at the door causing delays and dropped clips
- Direct sun or a bright background silhouetting visitors at certain times of day
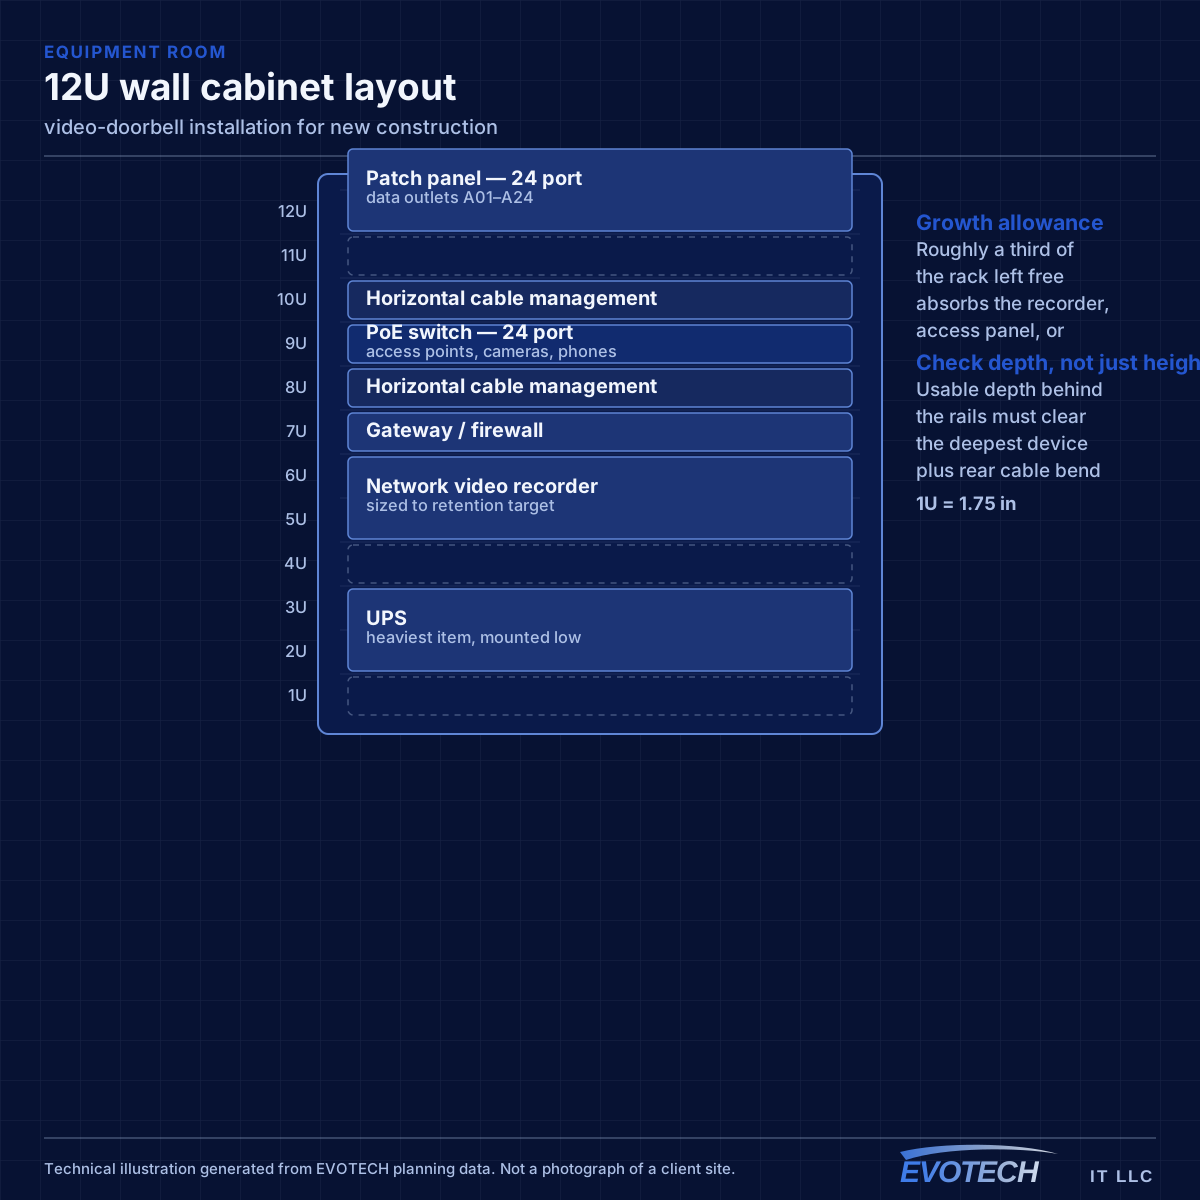
What to rough in even without a final design
Full system design is often not finished when the rough-in window arrives. That is normal, and it is not a reason to skip the pathway. Running conduit or sleeves to likely positions preserves the option cheaply even when the eventual equipment is undecided.
For a commercial building, the reliable rough-in set is: cable to every likely device outlet, ceiling positions for access points spaced for the intended coverage, camera positions at entries and approaches, door positions with cable to the controller location, and pathway to any likely display or AV position. Plus, in every case, a properly located equipment room.
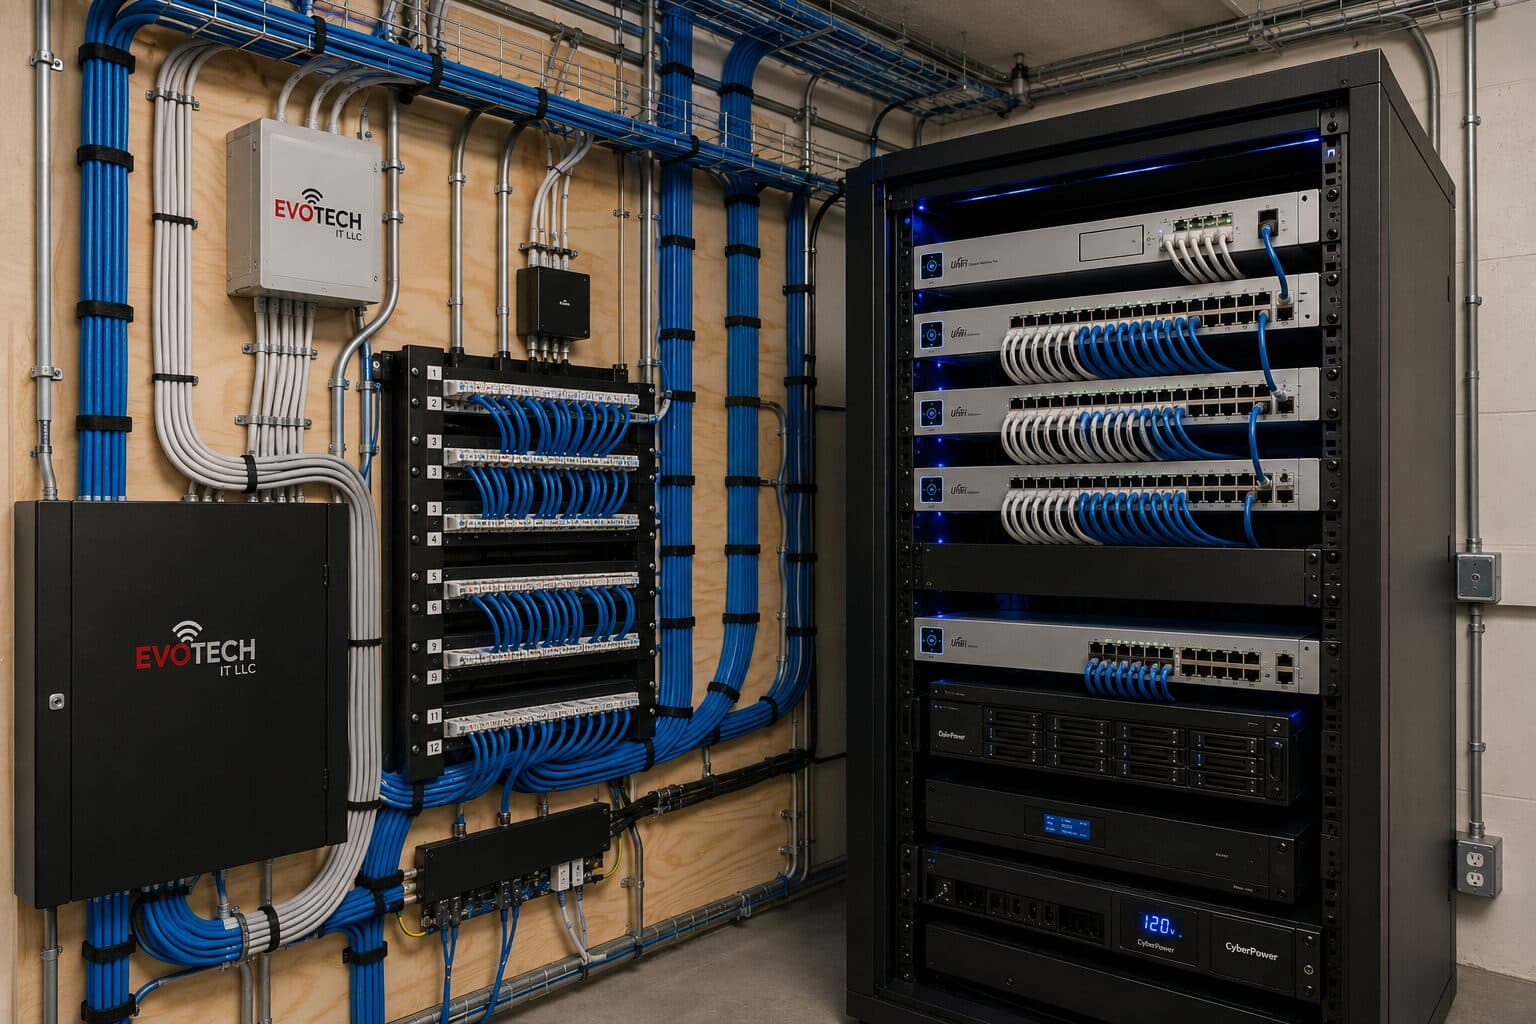
The equipment room deserves particular emphasis because it is the most commonly under-provisioned item. It has to hold the network rack, camera recorder, access-control panel, and any AV equipment, with dedicated power, ventilation, and clearance to work. Sizing it from the network alone is a decision that gets discovered eighteen months later.
- Sleeves and conduit to likely positions even before final design
- Ceiling access-point positions spaced for the intended coverage
- Camera positions at entries, approaches, and service areas
- Cable from every controlled door to the controller position
- Equipment room with dedicated power, ventilation, and working clearance
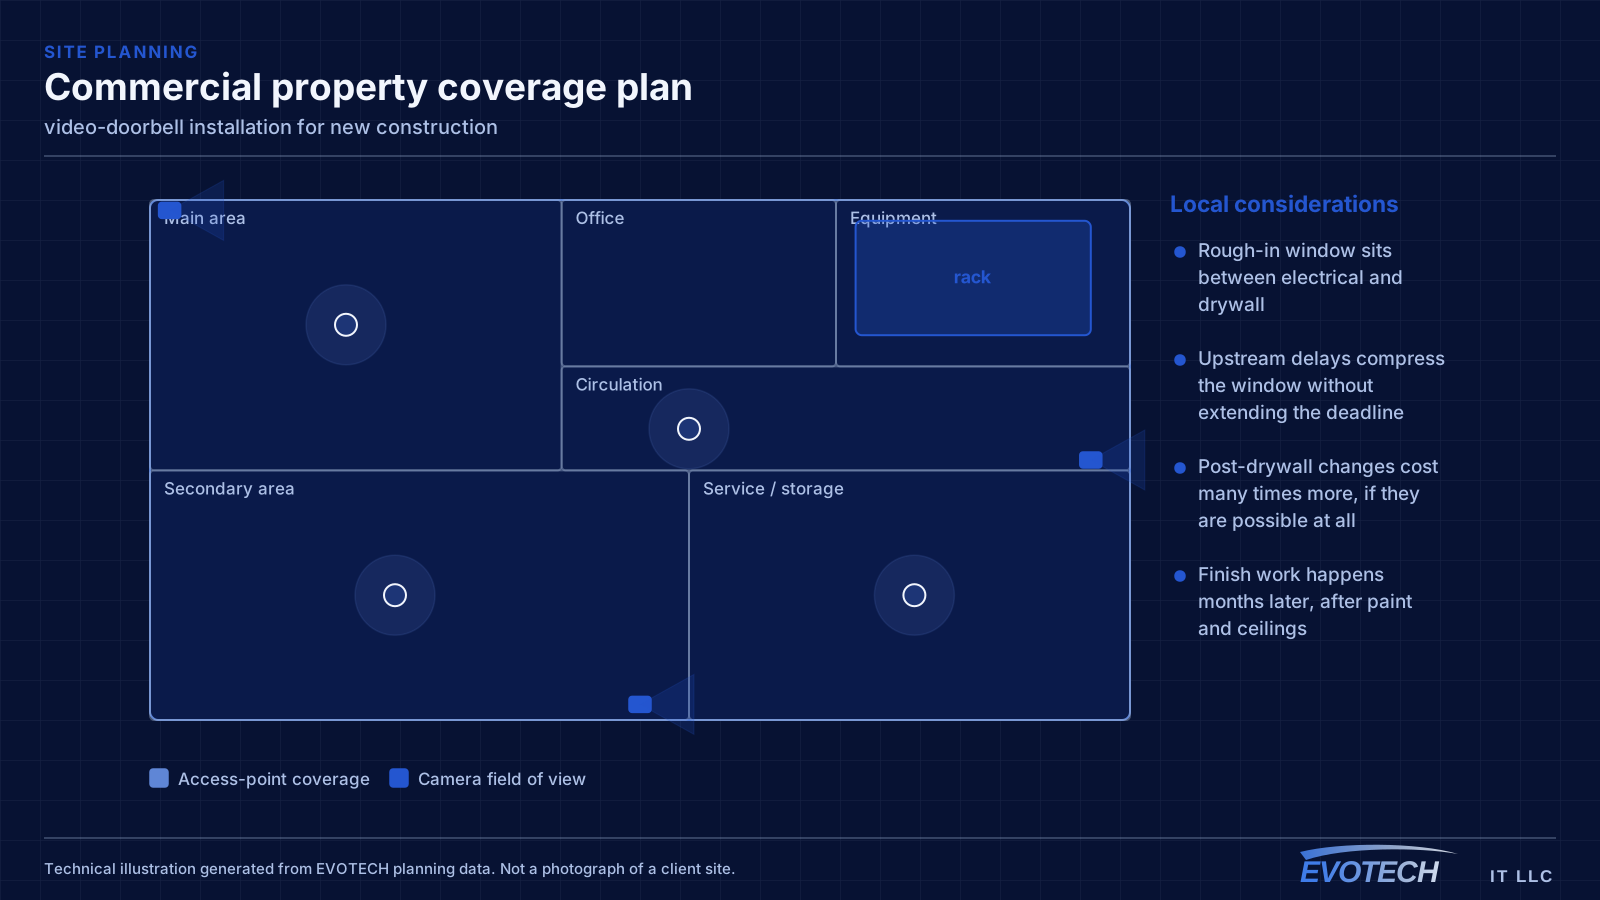
Transformer capacity, chime handling, and mounting angle
Camera doorbells specify a voltage and minimum VA rating for their transformer. Many houses have transformers sized only for a mechanical chime, which is a much smaller load. When the supply is marginal the device may appear to work and then fail when the camera and radio draw peak current — typically at the moment the button is pressed. Replacing the transformer with one meeting the device specification resolves a large share of these cases.
- Transformer must meet the device's voltage and VA specification
- Mechanical chimes generally need the manufacturer's bypass module
- Mount for the approach path, not just for button convenience
- Angled wedges for side approaches and recessed entries
- Verify wireless signal strength at the door before finalising the position
- Consider sun direction and bright backgrounds at the times that matter
Frequently asked questions
What changes about video-doorbell installation in new construction?
The operating environment does. New construction bring specific constraints — how the space is used, when work can happen, and what has to keep running — and those shape the video-doorbell installation plan as much as the service's own technical requirements.
Why does the doorbell keep going offline or restarting?
Most often the transformer. Many houses have a transformer sized for a mechanical chime, which is a much smaller load than a camera doorbell. The device appears to work until it draws peak current — usually at the button press — and then drops. Confirming the transformer meets the device's stated voltage and VA rating resolves a large share of these cases.
What has to be decided before rough-in?
Device locations, the equipment room position, and the pathway plan. Equipment selection can wait — you can run cable to a position without knowing which camera or access point will go there. What cannot wait is the decision about where things go, because that is what determines where cable is pulled while the walls are open.