Why this page exists
Floodlight camera installation for new construction is shaped by how the space is used, not just by the service itself. New construction bring their own operating constraints, and this page pairs what floodlight camera installation actually involves with what that environment changes about it.
A floodlight camera combines a motion-activated light with a camera, so an area lights up and records when something moves — good for deterrence and for usable colour footage at night. The catch is that the camera is looking into its own light source, so placement has to give useful footage without the floodlight washing out the near field or throwing hard shadows, and the motion detection has to trigger on people rather than every passing car or swaying tree.
One window, and it does not reopen
Low-voltage rough-in happens in a specific slot: after framing and electrical, before insulation and drywall. Inside that window, running a cable anywhere is straightforward. Once drywall goes up, the same cable costs many times more and sometimes cannot be run at all.
The asymmetry is the whole story of new-construction low voltage. Decisions made cheaply during rough-in become expensive or impossible afterwards, which is why the pre-rough-in planning conversation is worth more than any equipment choice made later.
- Rough-in window sits between electrical and drywall
- Upstream delays compress the window without extending the deadline
- Post-drywall changes cost many times more, if they are possible at all
- Finish work happens months later, after paint and ceilings
What floodlight camera installation usually involves
The signature problem is the camera fighting its own light: mounted or aimed poorly, the floodlight blows out the near field, casts hard shadows, or reflects off a nearby wall back into the lens, so the footage is worse than a plain camera would give. Placement that keeps the light on the scene and off the lens's immediate foreground is what makes the combined unit work.
The second is nuisance triggering. A floodlight camera aimed to catch a wide area lights up and records every passing car, pedestrian, and swaying branch, which fills storage and trains everyone to ignore the alerts. Motion zones tuned to the actual approach path are what keep the triggers meaningful.
- Floodlight washing out the near field or reflecting into the lens
- Hard shadows from a poorly angled light hiding the subject
- Nuisance triggering on traffic, pedestrians, and foliage
- Mounted too low for tamper resistance and useful angle
- Depending on battery and Wi-Fi for a device meant to always watch
- Aimed for wide area rather than the approach that matters
What to rough in even without a final design
Full system design is often not finished when the rough-in window arrives. That is normal, and it is not a reason to skip the pathway. Running conduit or sleeves to likely positions preserves the option cheaply even when the eventual equipment is undecided.
For a commercial building, the reliable rough-in set is: cable to every likely device outlet, ceiling positions for access points spaced for the intended coverage, camera positions at entries and approaches, door positions with cable to the controller location, and pathway to any likely display or AV position. Plus, in every case, a properly located equipment room.
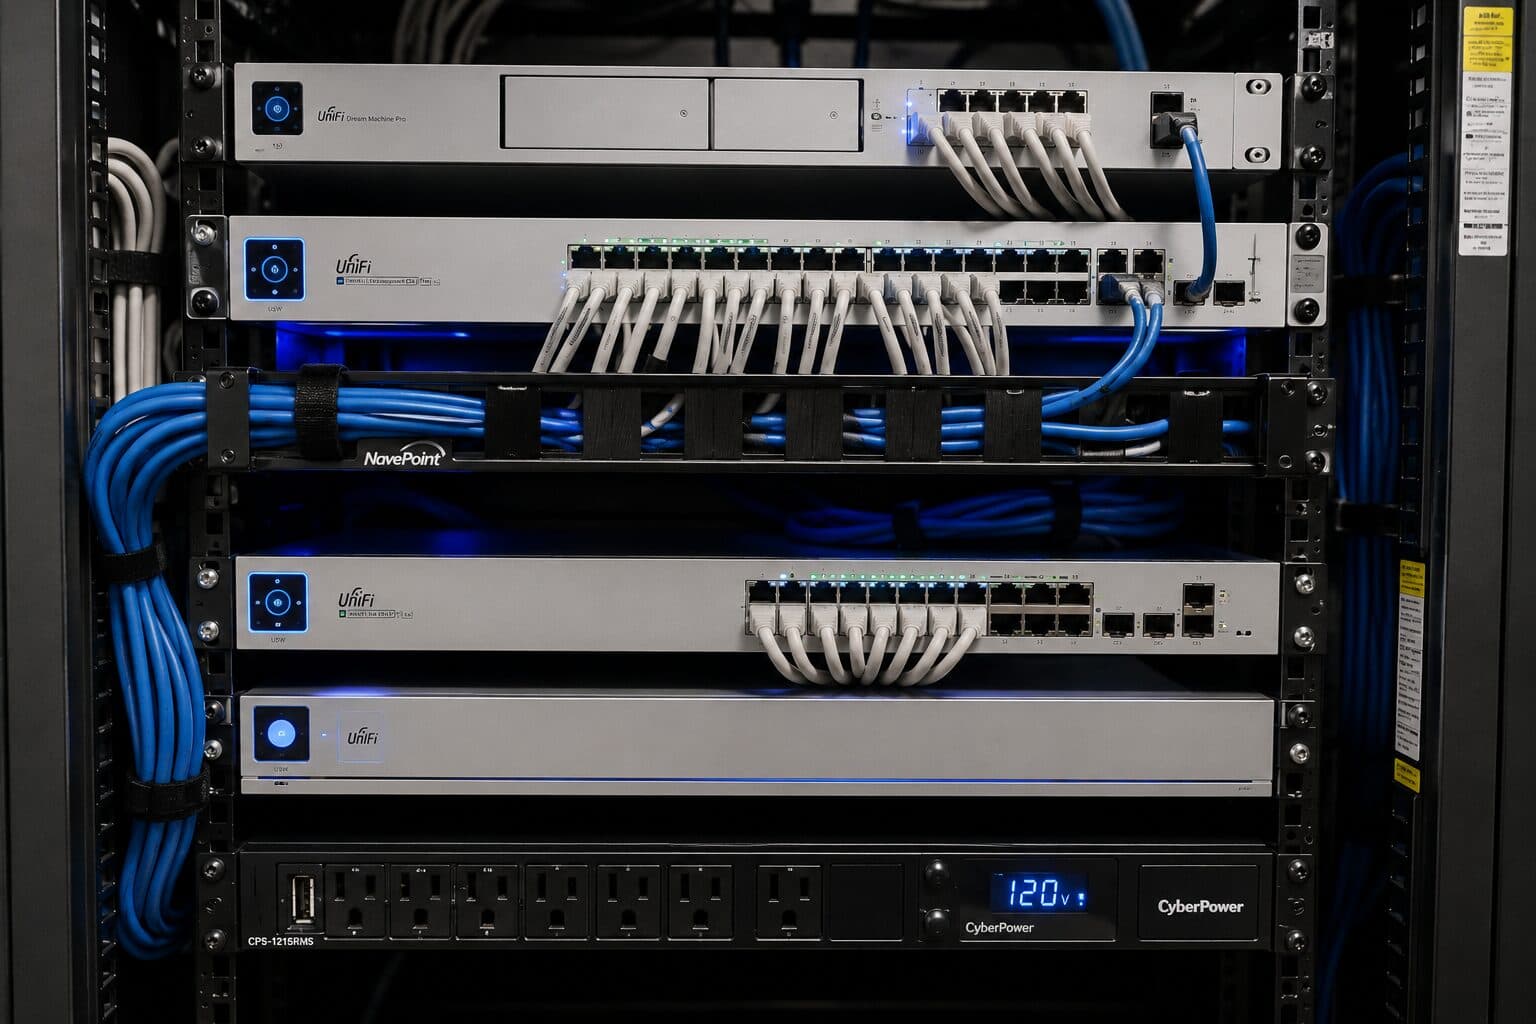
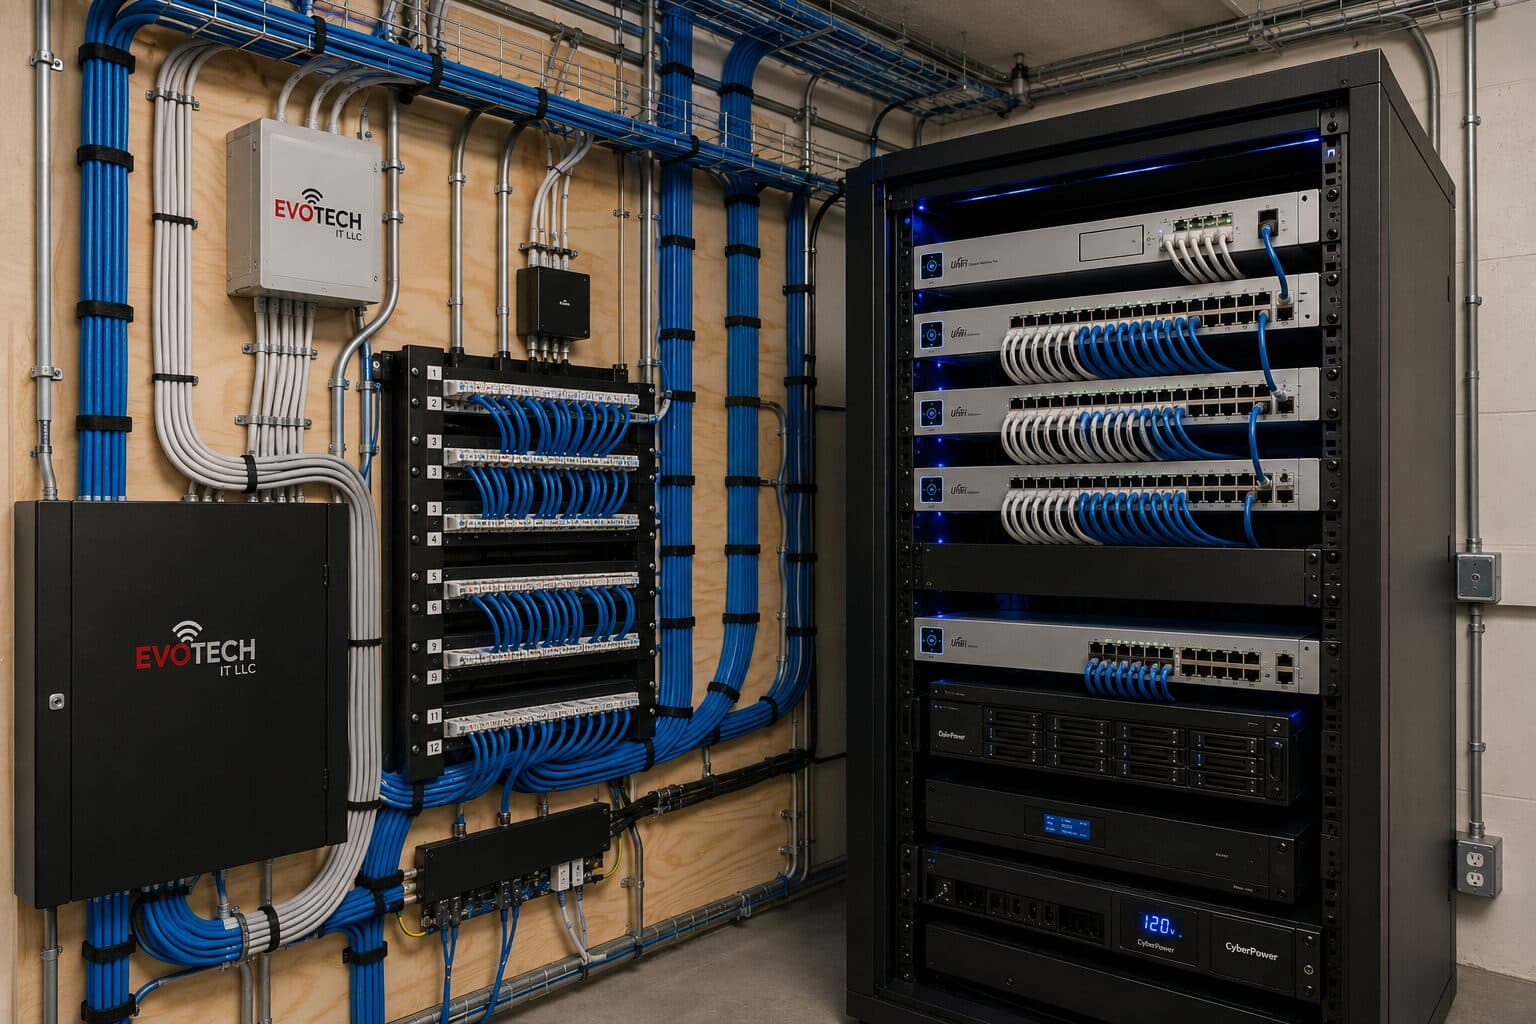
The equipment room deserves particular emphasis because it is the most commonly under-provisioned item. It has to hold the network rack, camera recorder, access-control panel, and any AV equipment, with dedicated power, ventilation, and clearance to work. Sizing it from the network alone is a decision that gets discovered eighteen months later.
- Sleeves and conduit to likely positions even before final design
- Ceiling access-point positions spaced for the intended coverage
- Camera positions at entries, approaches, and service areas
- Cable from every controlled door to the controller position
- Equipment room with dedicated power, ventilation, and working clearance
Height and angle, glare, motion zones, and reliable power
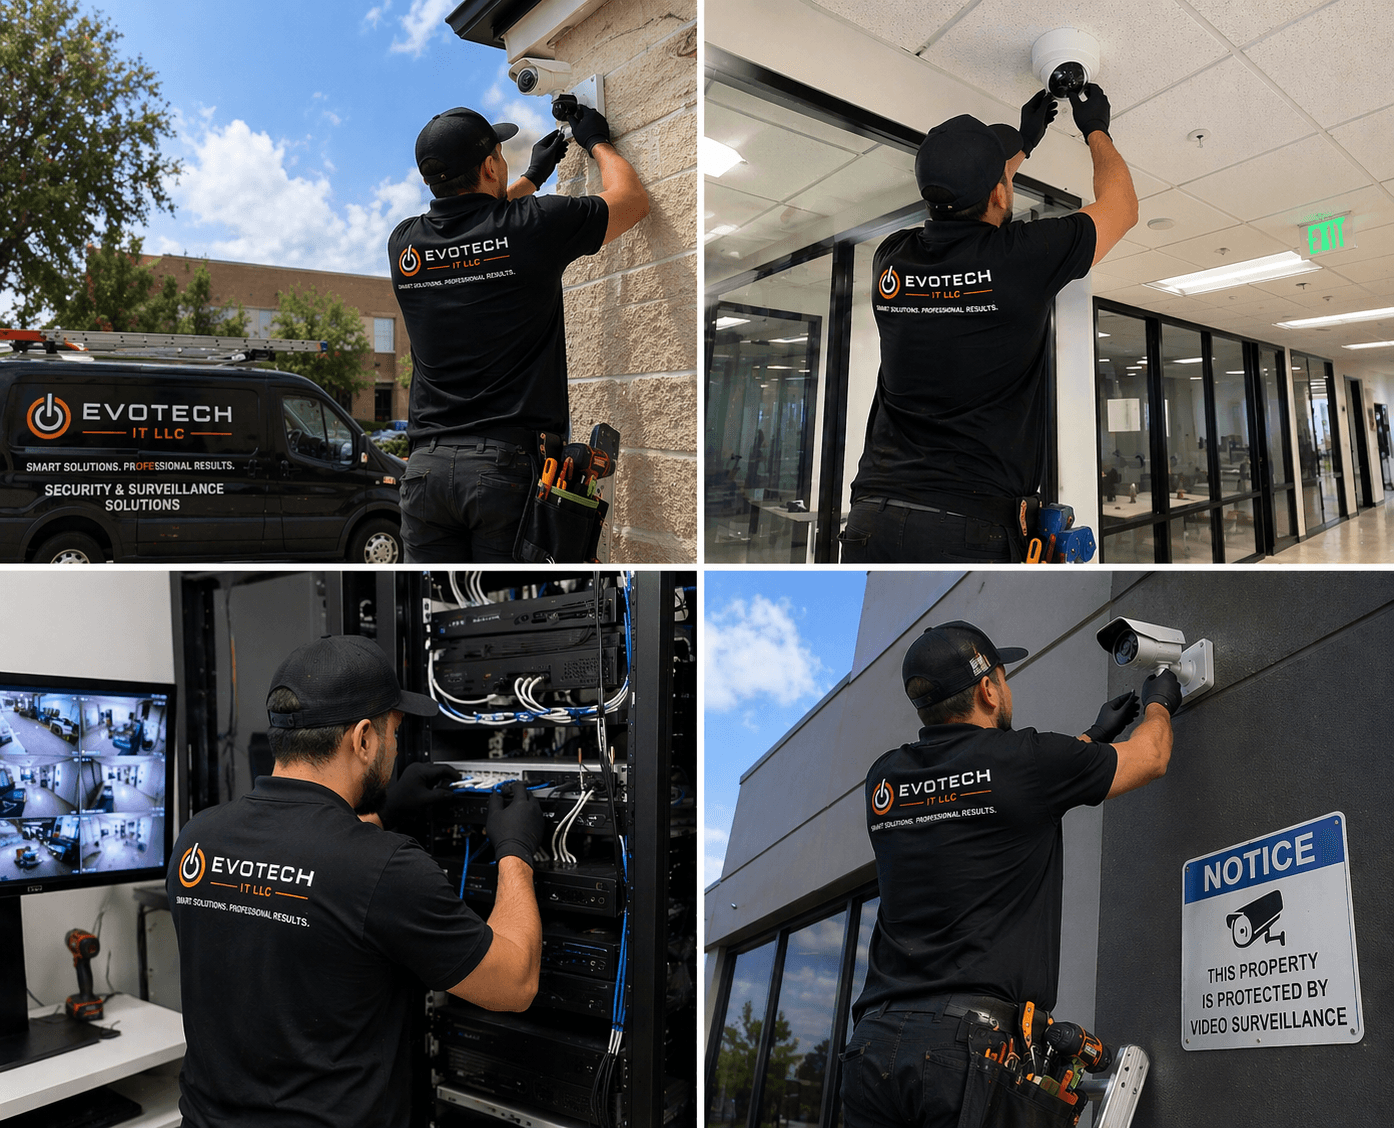
Mounting height and angle balance deterrence, coverage, and tamper resistance. High enough to be out of easy reach and to light the approach, angled so the light falls on the scene rather than into the camera's near foreground, and positioned so a person approaching is lit from a useful angle rather than silhouetted or shadowed. Keeping the light off nearby reflective surfaces — a light wall, a soffit — stops it bouncing back into the lens.
- Mounted high enough for reach and useful angle, out of tamper range
- Light aimed at the scene, off the lens's near field and reflective surfaces
- Subject lit from a useful angle, not silhouetted or shadowed
- Motion zones shaped to the real approach path
- Two-way audio for live deterrence where fitted
- Wired power and a reliable connection for a device meant to always watch
Frequently asked questions
What changes about floodlight camera installation in new construction?
The operating environment does. New construction bring specific constraints — how the space is used, when work can happen, and what has to keep running — and those shape the floodlight camera installation plan as much as the service's own technical requirements.
Why is my floodlight camera's footage washed out at night?
The camera is fighting its own light. If the floodlight blows out the near field or reflects off a nearby wall or soffit back into the lens, the footage is worse than a plain camera would give. Aiming the light onto the scene and off the lens's immediate foreground — and away from reflective surfaces — is what fixes it.
What has to be decided before rough-in?
Device locations, the equipment room position, and the pathway plan. Equipment selection can wait — you can run cable to a position without knowing which camera or access point will go there. What cannot wait is the decision about where things go, because that is what determines where cable is pulled while the walls are open.